
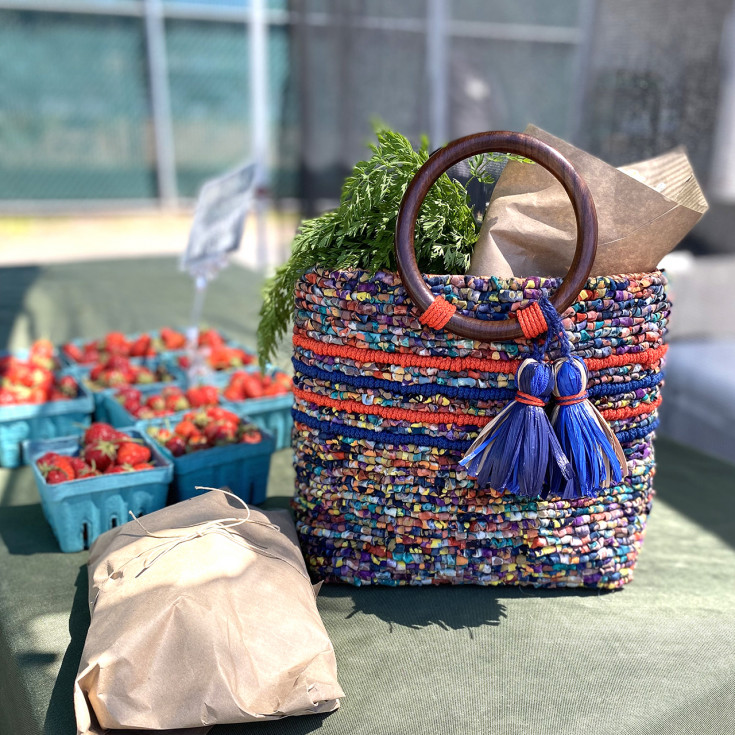
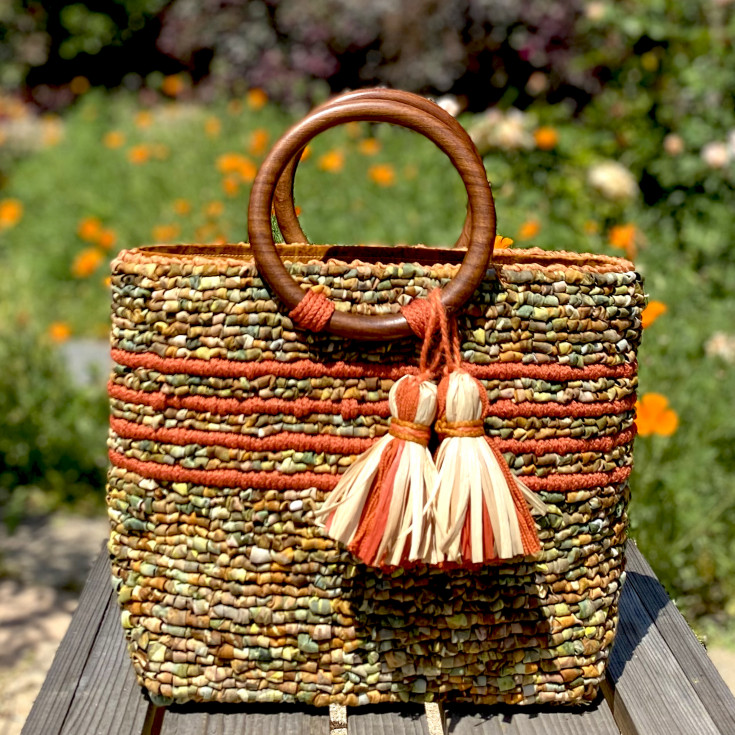
It’s festival season! Maybe you’re attending an art or music festival. Maybe you’re just getting out to enjoy the beautiful sunny weather at the local farmers market. You’ll need something to carry all of your essentials and goods, a colorful tote is the perfect accessory. The Color Crazy Festival Tote Kits are a fun way to create your own unique tote! The Festival Tote Kits are a take on the popular Confetti Tote Kit–same great design, only taller and accented with tassels! They’re available in two new colors, Summer Fields and Confetti Splash.
When I first launched the Confetti Tote kit in the fall of 2016, I created a how-to video titled “Locker Hooking Techniques for the Confetti Tote Bag. ” At the time I had no idea just how popular it would be. I posted it on YouTube (it kind of went viral), as a result it currently has over 1,200,000 views. The Festival Tote is similar in design, and was created to meet the demand of customers who were looking for a slightly larger bag. You’ve probably tried locker hooking mats and rugs, but have you tried a tote bag? The kits include everything you will need: canvas, pattern & instructions, beautiful hand-dyed fabric stripes, twine/cord, ribbon, yarn, purse feet, and a set of hand crafted wood handles. They’re sold with or without tools.
After locker hooking your tote, it is essential to create a lining. Lining your tote will not only complete the look but stabilize the whole bag. I have included detailed instructions along with helpful images below.

Create a Lining
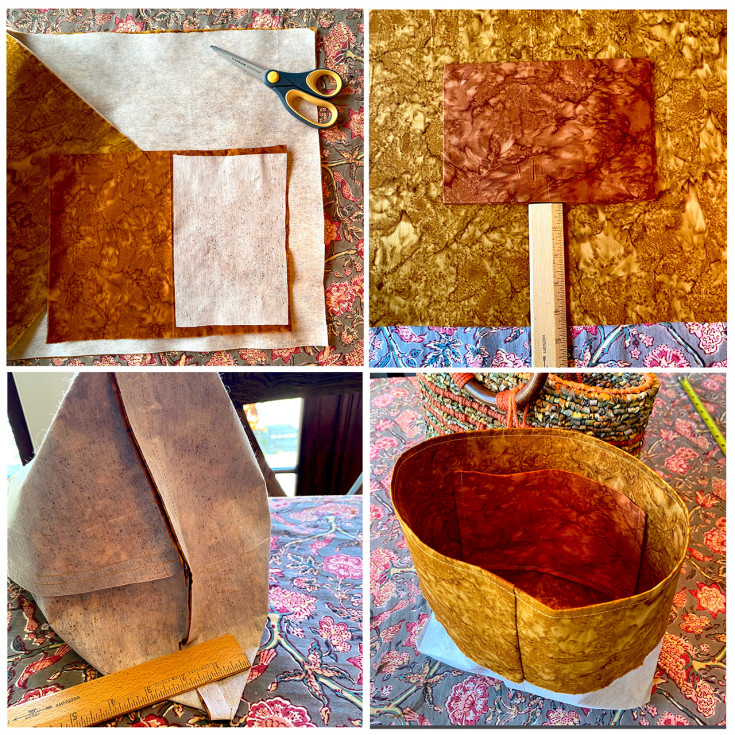
1) Sew Lining: Cut fabric pieces and a medium/heavy iron-on fusible. You will cut one piece each of fabric and fusible. Cut a 27” x 17”, and a 9 1/2” x 13” rectangle. (Notes: I like to create an extra tall lining that folds over to provide additional stability. Double check the iron on fusible you are going to use. They’re not all alike. Some will state “heavy duty” and are actually more medium. You want a fusible that provides thickness and stability, but is not so thick that it won’t fold easily.)
2) Add Iron-On Fusible: With an iron set to a cotton or medium high setting, press the fusible on the wrong side of both pieces. Press seam allowance under smaller rectangle (I used 1”) and fold in half to create an approximate 7 1/4” x 5 1/2” pocket. Pin pocket rectangle on center of large fabric piece approximately 4 1/2” from bottom edge. Top stitch 1/4” from outside edge around sides and bottom of pocket. Fold large fabric piece right sides together lengthwise, pin 1” side seam and insert into tote. Adjust and re-pin or mark for snug fit. Center pocket. Stitch side of lining, press seam open.
3) Stitch bottom closed (1”seam, you can press seam open if you prefer). Pull out corners and stitch 2 1/4-1/2” across. Trim to 1/2” seam.
4) Fold top edge over to fit. Adjust Lining: Fit lining into tote, fold edge inward, and adjust to fit. Pull out & top stitch 1/4” inside top of lining.
5) Glue Lining: Add a thick bead of permanent glue inside top edge of lining taking care not to over glue or smudge ribbon or locker hooked areas. Use clamps, clothes pins or similar to secure and let dry.
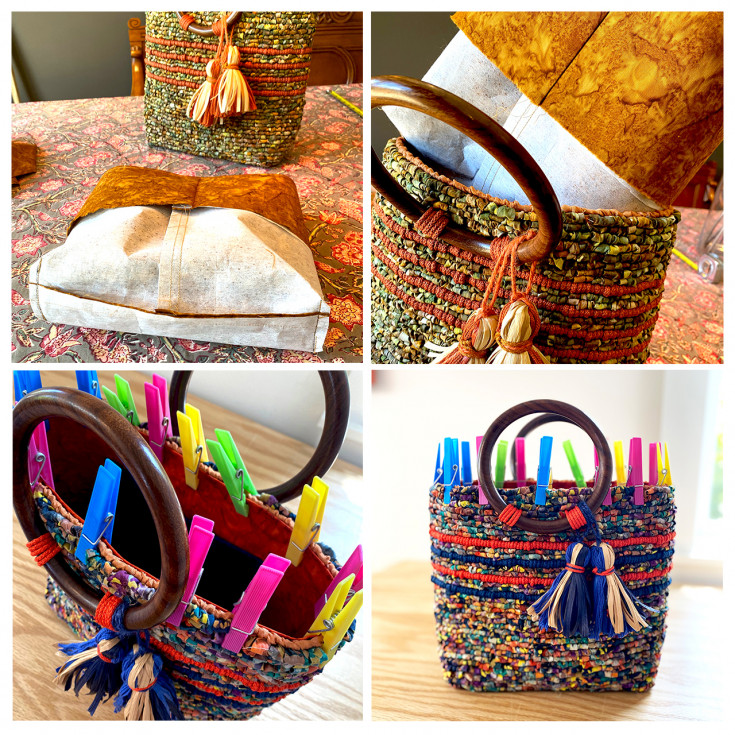
6) Enjoy your new locker hooked Festival Tote bag!