You’ve probably seen these types of paper party lanterns. They’re inexpensive and come in different colors. Well, I recently finished my own version of a party lantern and thought I should share. My neighbor asked if I could help by creating it for a fundraiser to benefit the Bouverie Preserve, and I thought sure, why not? This is a fun project you can do with kids or a group of friends to create colorful party lanterns for a special event.
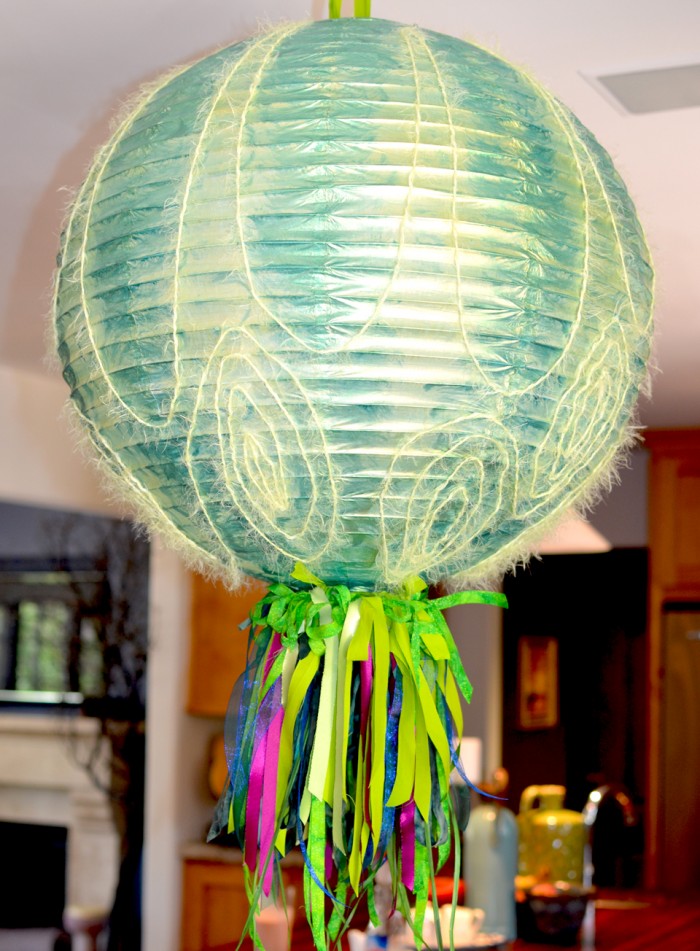
This is also a great way to use up leftover strips of fabric, ribbon and yarn. I got a little color crazy and painted it with Lumiere luminescent paints–this way it would cast a shimmery glow when lit up– glued on a little fuzzy yarn (you’ll need some patience if you plan to glue yarn on a big lantern), and strung up the bottom with lots of Color Crazy Fabric Strips and ribbons tied on to locker hooking canvas. The theme was the Bouverie Preserve so I called this the Color Crazy Fern Ball.
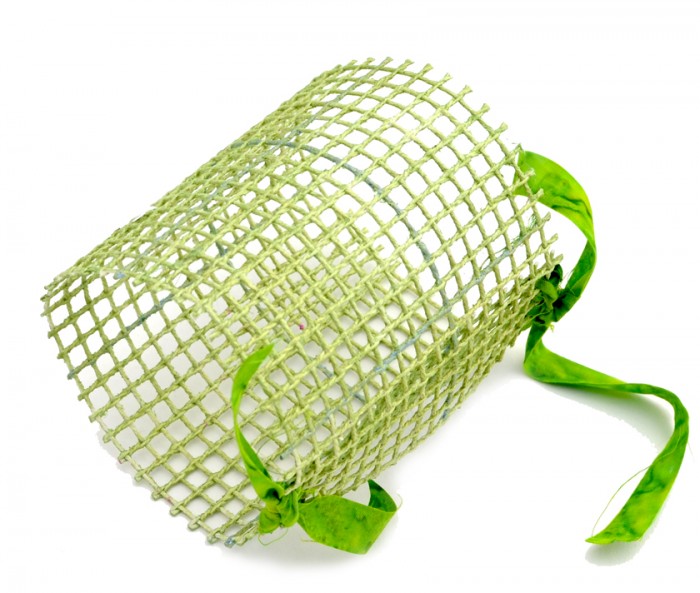
Here’s a close up of the fringed lantern:

Color Crazy Lantern Craft Recipe
Ingredients:
Paper Lanterns–Buy white if you want to paint them, or you can find different colors and sizes at Luna Bazaar at great prices. They also have the led lights for lighting them up.
- 3.75 Mesh Canvas–3″high and long enough to wrap and overlap to make a round circle that fits the bottom of your lantern
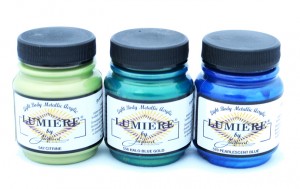
- Lumiere luminescent paint or other paints of your choice
- Fringed novelty yarn of your choice for added texture
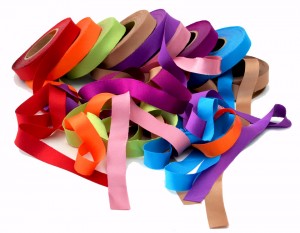
- Lots of colorful fabric strips and ribbons to create the fringed bottom. I used the Color Crazy hand-dyed fabric strips, the Color Crazy Satinique fabric strips and some leftover bits of sheer ribbon.
- Fast drying glue like Quick Grip. You can also use Elmer’s glue.

Tools:
- Scissors
- Paint brushes
- Tapestry needle and locker hook or crochet hook
Satinique Fabric Strips
Instructions:
- Paint: If you plan to paint, prepare and protect your area with newspaper or a drop cloth. Follow instructions to open up your lantern and set up. Paint one side first, let dry. Once dry, turn over and paint other side. I chose the Lumiere in Citrine to paint the whole lantern. I then used the Halo Blue Gold color to paint my version of ferns.
- Optional: Attach yarn. Create a pattern with glue. Go one small area at a time…let the glue dry a bit and get tacky and then attach yarn. Use adhesive in a well ventilated area. You can also attach other embellishments like paper or fabric flowers.
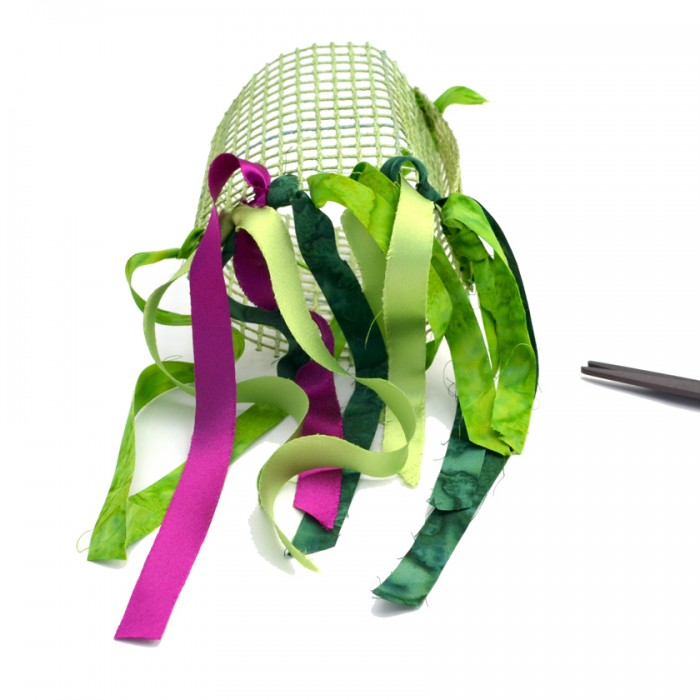
- Create Rug Canvas Tube: Paint the locker hooking canvas and let dry. Fold over long edges and wrap to form circle. Tie together or use tapestry needle to whip stitch edges and form circle.
- Create Fringe: Cut long pieces of fabric strips and ribbon and/or yarn too–about 6 – 9 inches depending on the size of your lantern. Tie strips to canvas starting at the bottom and working your way up to the top. Use the locker hook to pull strips through canvas and tie on. Skip a row or two depending on coverage needed. Alter colors so there’s a good mix and alter lengths also. Continue to tie on until canvas is completely covered. Use scissors to snip edges at an angle and create the fringed look.
- Tie Fringe Tube on Lantern: Use the tapestry needle and long pieces of fabric strips to tie the fringed tube onto the bottom of the lantern. You will need poke through the paper at the bottom of the lantern and tie to the aluminum wire securing the edge. Create ties with fabric strips around the top circle of the tube and tie on to the lantern. You can tie knots and create bows to add more texture to the bottom.
- Ready for the party: Hang your lantern and enjoy!