It’s my favorite time of year. I love the seasonal colors of autumn–the colors of pumpkins, persimmons, and pomegranates…and the golden colors of fall foliage. For a long time now, I’d been wanting to take pattern pieces and curve them to either make a basket or a curved tote bag. So I just had to try a pumpkin design. I have to admit this was not easy, and I was figuring it out as I worked, but I was so happy to have taken up the challenge.
If you’re going to tackle this, I do have the Free Pumpkin Jar pattern, but you will have to be patient and do a little at a time. Here’s how I did it…
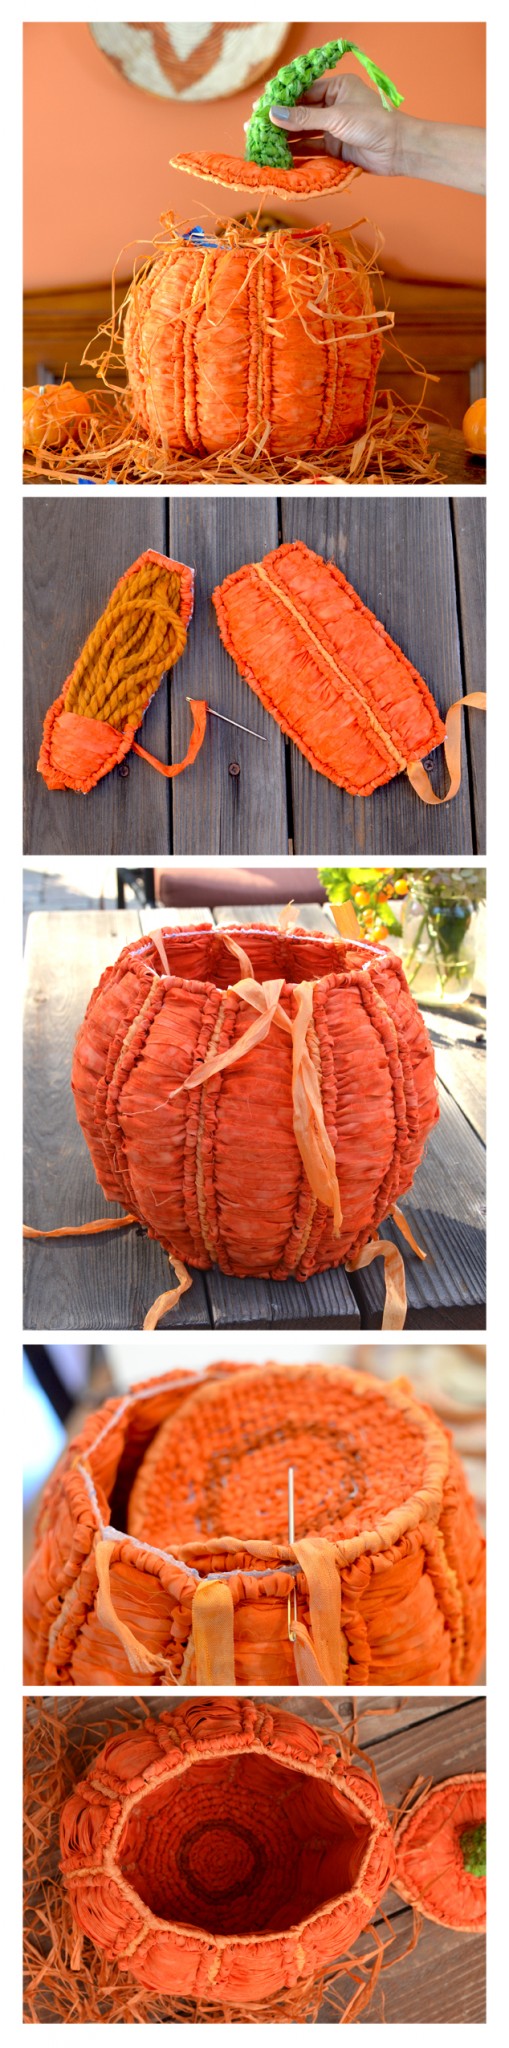
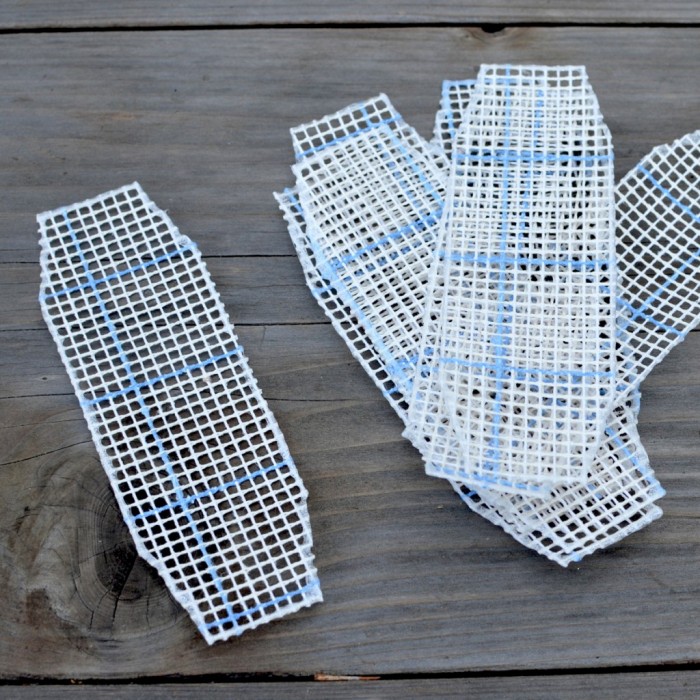
First, you need to cut all pieces (refer to pattern) in 5-Mesh canvas for locker hooking, including ten side panels. Locker hook frames on each panel with orange fabric strips. I used the Color Crazy Tangerine Orange. Whip stitch top and bottom pieces to frame with rayon ribbon (I used Color Crazy Orange Creamsicle) but not the side panels. Stitch together 5 side panels with the ribbon to create two sides. You’ll then have to stitch on the ruched padding and cover by stitching over with tangerine orange fabric strips. I tried adding the padding and the stitches on a few panels before stitching/assembling them together. This does not work as well as assembling them together first. You get better curvature by stitching the ruching on after they’re assembled.

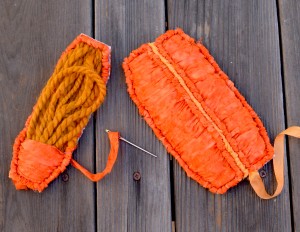
This will take time so do be patient. It’s worth the effort! It’s important to know that you can adjust the ruched stitching by hand after it’s all done by tugging and also gluing down strips with tiny drops of glue for durable coverage. Once the ruched stitching is complete on all panels, stitch together the two sides to create the jar. Read more about the “Ruched Frames” technique in my Locking Loops book.
Pumpkin Jar Body Stitched Together with Ruched Stitching Complete
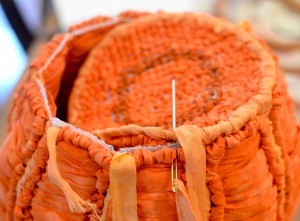
I locker hooked the bottom piece as a circle and decided to make an oval sized top with a stem. For the bottom piece, I added an inner circle design element. Prior to stitching on the bottom, I made sure all tails on body were sewn in.
Whew! At this stage it feels like major progress has been made. I used my hands to stretch and shape the pumpkin jar and create an oval opening.
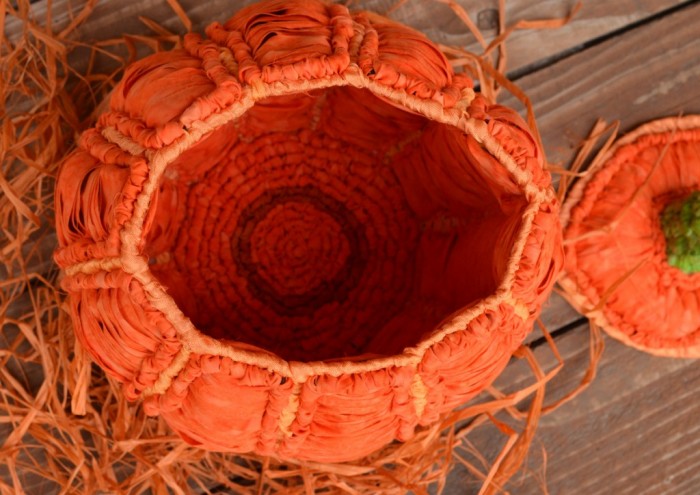
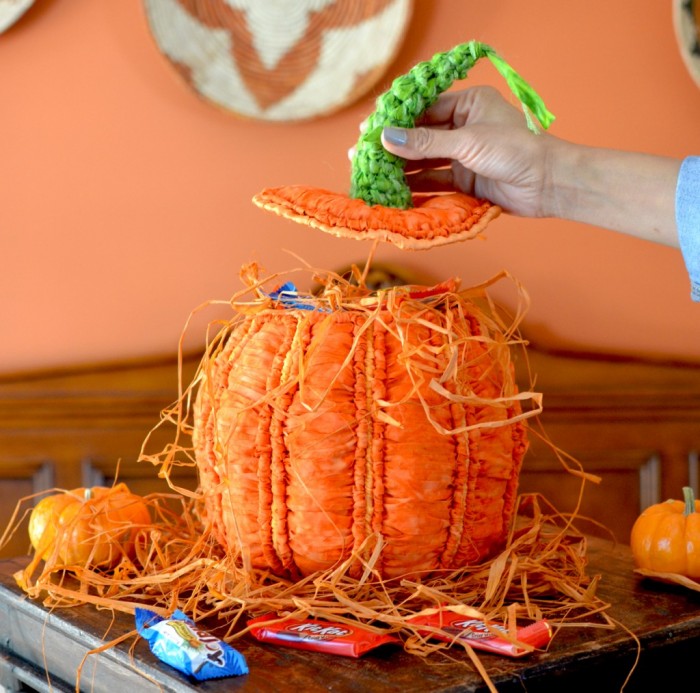
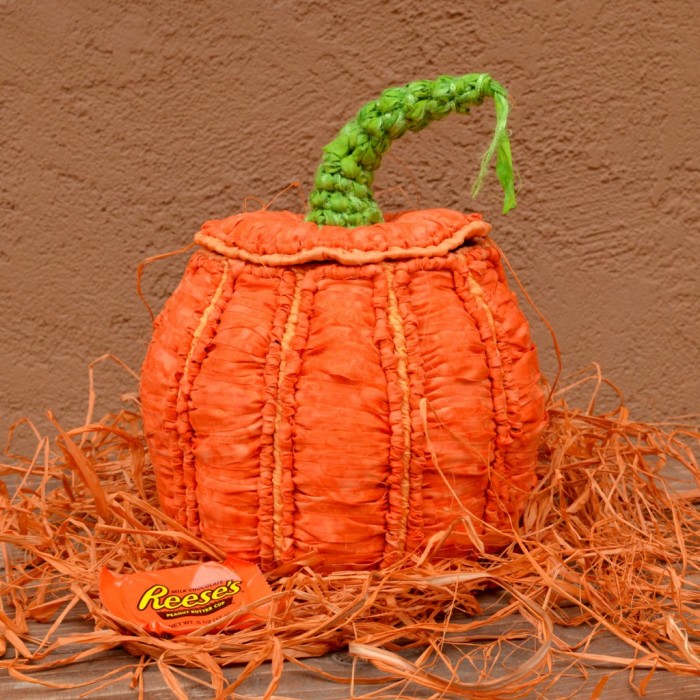
I wanted the top piece to be oval and I also wanted a stem that would add a whimsical touch, so I added a shimmery yarn along with a green fabric strip and decided to crochet the stem. Easy to do with the locker hook. Just attach with a chain stitch and start crocheting around the center of base in the oval top. Single crochet about 11 rows, omitting a stitch on each row until you can bind off. Stretch and bend the stem, and tie off leaving a long tail. You locker hook two rows around the base and create some ruched stitching to finish the top. And voila! It’s ready to be stuffed with your favorite treats or just displayed for fun.
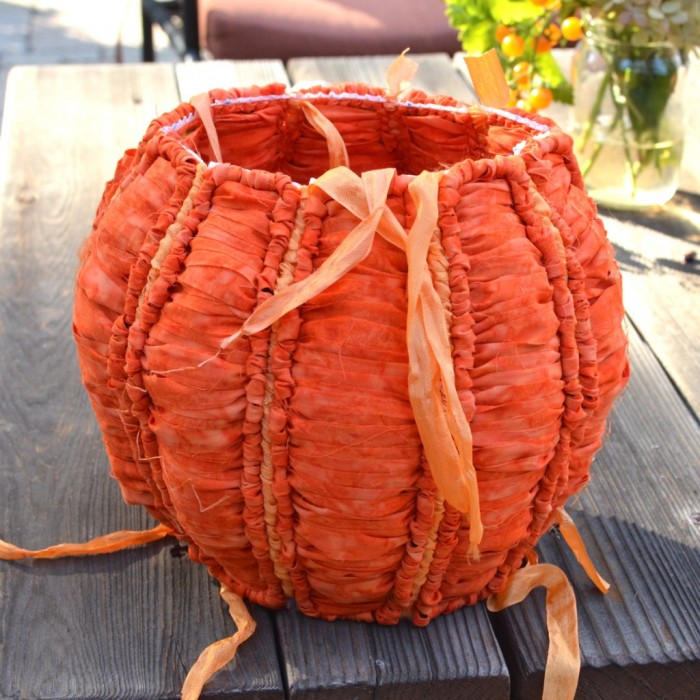
If you’re feeling like a challenge, do give this Pumpkin Jar Pattern a try!
To recap…just a few steps that take time but are worth the results. Create Ruched Frame panels, stitch together, locker hook bottom, create top and crochet stem.